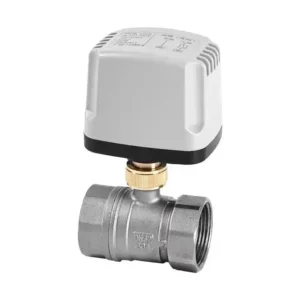

When our pneumatic ball valve suffers from internal leakage, actuator jamming or sealing‑element aging failure, the most urgent requirement is to source a new valve for direct replacement that can operate stably for a long‑term period.
Nevertheless, the replacement of a pneumatic ball valve is not as simple as “buying an identical unit”. Especially for the renovation of ageing systems or when the original manufacturer has discontinued production, procurement and model‑selection are often confronted with many technical challenges.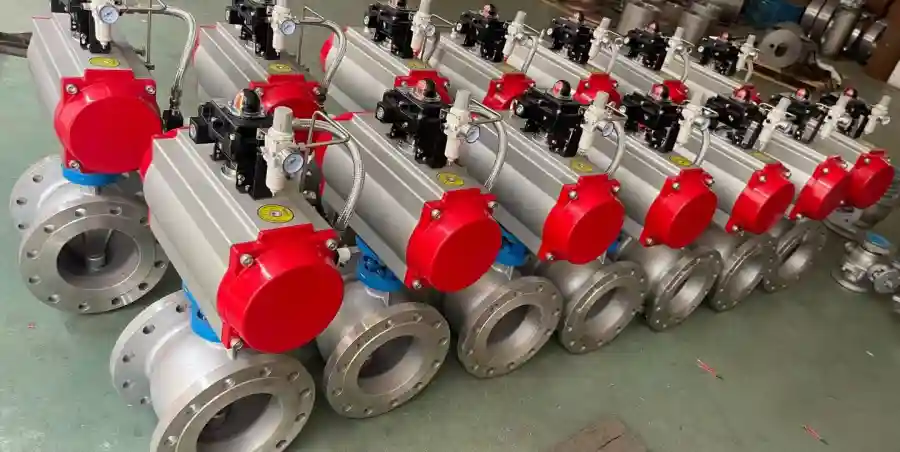
Step 1: Precisely identify the “identity information” of the existing valve
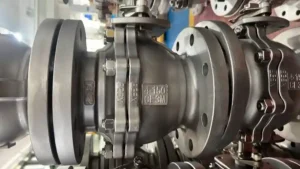
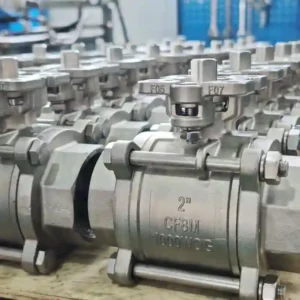
Before replacement, it is essential to obtain the nameplate parameters of the original valve. These parameters serve not only as the procurement basis, but also as the foundation for ensuring the safe operation of the system. Focus on Valve Body Material (e.g. WCB carbon steel or CF8M stainless steel), Pressure Rating (e.g. Class 150 or PN16) as well as End Connection (e.g. flanged or female‑threaded).
For 2 inch pneumatic ball valve specifications, special confirmation is required whether it adopts Full Port or Reduced Bore, since this directly affects the flow capacity (Cv value) of the pipeline.
Step 2: Verify the actuator interface standard and torque
The connection between the pneumatic actuator and the valve body must strictly comply with ISO 5211 standard. You need to measure the size of the square head or flat slot on the top of the valve stem, as well as the hole spacing of the mounting bracket, so as to ensure that the new valve is perfectly compatible with the existing pneumatic actuator.
Meanwhile, it is critical to determine whether the fault originates from the valve body or the actuator. If the pneumatic actuator (cylinder) remains intact, you only need to purchase a new Body Assembly; if the actuator is rusted or air‑leaking, full‑set replacement should be considered.
For frequent on‑off operations under high‑pressure working conditions, it is recommended to select a spring return ball valve. This configuration can automatically shift the valve to a safe position (open or closed) by spring force in case of unexpected air‑supply interruption, which meets vital safety requirements in chemical and oil‑gas applications.
Step 3: Select alternative model and materials according to working conditions
Damage to an old valve is often an indicator of improper material selection. For high‑temperature steam or corrosive media, standard PTFE seats may fail to deliver a long service life.
Under such circumstances, you may consider upgrading to a metal seated ball valve or adopting reinforced PEEK seats. During model selection, you may look for universal alternative models with identical face to face dimension.
For instance, ball valves manufactured by many Chinese producers (such as CHCV) meet API 6D standards and can serve as a perfect replacement for old‑type valves of imported brands, with shorter delivery lead‑times. In addition, clarify whether the valve functions as an on‑off ball valve or a control ball valve. If it is a control‑type valve, a corresponding Positioner and 4‑20 mA feedback signal must be equipped. Replacing only the valve body without changing the actuator cannot maintain the original control accuracy.
Step 4: Inspect key spare parts and installation accessories
Do not overlook auxiliary accessories. Confirm whether the original limit switch box or solenoid valve needs to be retained. The mounting thread ports (NPT or BSPP) of the new valve must match the pipeline threads.
It is suggested to order a matching Repair Kit (including valve seats, sealing rings and gaskets) at the same time of procurement, which can greatly cut downtime maintenance costs in the future. Finally, a leakage test must be carried out on the newly‑installed valve to ensure normal Piston Effect and zero‑leakage sealing performance.