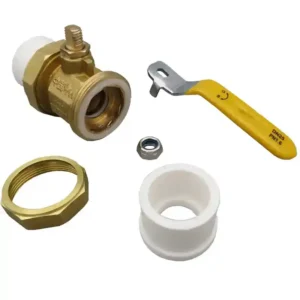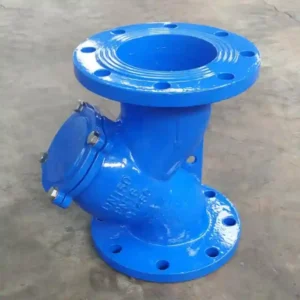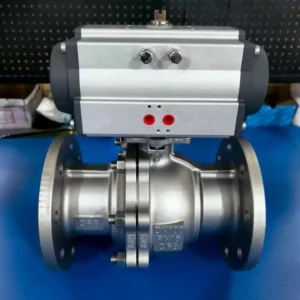

When researching how to install a brass ball valve, installers typically worry about three issues: reversed installation, cracked body from over-tightening, and joint leakage.
Common connection types for brass ball valves include threaded, soldered/brazed, compression, push-to-connect and PEX crimp connections. This article focuses primarily on threaded connections, as they are most widely used in water, gas and compressed air piping systems.
Installing a Brass Ball Valve: Verify Media and Specifications
Shut off the water or gas supply, depressurize and drain the pipeline. Confirm valve size, thread type and pressure-temperature rating. For potable water systems, select a lead free brass ball valve. NPT and BSP threads are not interchangeable; ASME B1.20.1 governs NPT thread engagement. For gas service, first verify whether local codes permit self-installation.
Tools Required
Tube cutter, deburring tool, wire brush, two wrenches or one wrench plus pipe wrench, PTFE tape or pipe thread sealant, marker, dry cloth, soap solution, pressure gauge. Brass is softer than steel; oversized tools must be avoided to prevent damage to the valve hex.
How to Install a Threaded Ball Valve: Threaded Installation Steps
Cut the pipe and remove burrs, then clean the external threads. For old threads, use a wire brush to remove residual sealant and rust.
Check the arrow marking on the valve body. Most 2-way ball valves are bi-directional, but valves with drain ports, check features or 3-way valves must be installed per the arrow direction.
Wrap PTFE tape clockwise for 3–5 turns when viewed from the thread end. Leave the first 1–2 threads bare and do not cover the pipe opening. A media-compatible pipe thread sealant may also be used; apply gas-rated sealant for gas applications.
Hand-tighten 2–3 full turns to confirm proper alignment. Use two wrenches: one to hold the valve body hex stationary, the other to turn the pipe. Brass is prone to cracking; only tighten an additional 1/4–1/2 turn after hand tight. Never use the valve handle as a leverage point.
Support the pipeline after installation to reduce mechanical stress. If welding is required, remove the handle and seals first, apply a wet cloth for heat sinking, and refit components only after cooling.
Brass Ball Valve Water Flow Direction: Flow Direction and Operation
The valve is normally open when the handle runs parallel to the pipe, and closed when perpendicular. Valves with drain ports or 3-way valves must follow body markings. Reversed installation will misposition drain ports or cause incorrect switching logic on 3-way valves.
Testing and Leak Check: Brass Ball Valve Leaking from Handle
Introduce water or gas slowly, first partially open the valve then fully open. Apply soap solution to threads, stem and handle area. A brass ball valve leaking from handle is commonly caused by loose packing gland, damaged seal or excessive heat during welding.
The packing gland nut may be gently tightened; avoid over-tightening. Cycle the handle 3–5 times, maintain pressure for 15 minutes, wipe dry and re-inspect. If leakage persists, depressurize and rework the thread sealing.
Common Mistakes to Avoid When You Install a Brass Ball Valve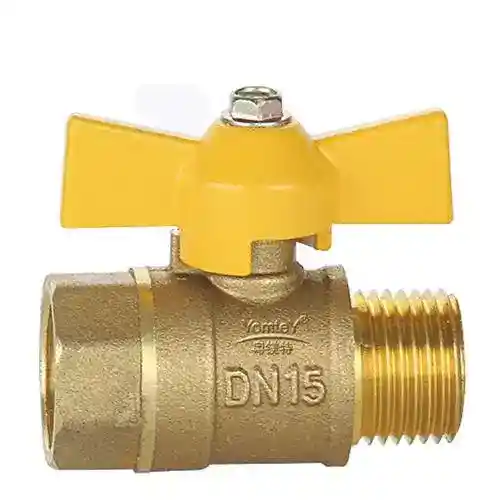
Wrapping PTFE tape counterclockwise, using only one wrench, over-tightening to crack the valve body, mismatched thread types, no access opening for valves concealed within walls. For gas lines, main water lines or fire protection systems, installation by certified personnel is recommended. Follow the above procedure, and brass ball valves can maintain tight shutoff over long service life.